Paper-Faced Mosaic Tile Sheets. Features and Installation Guide
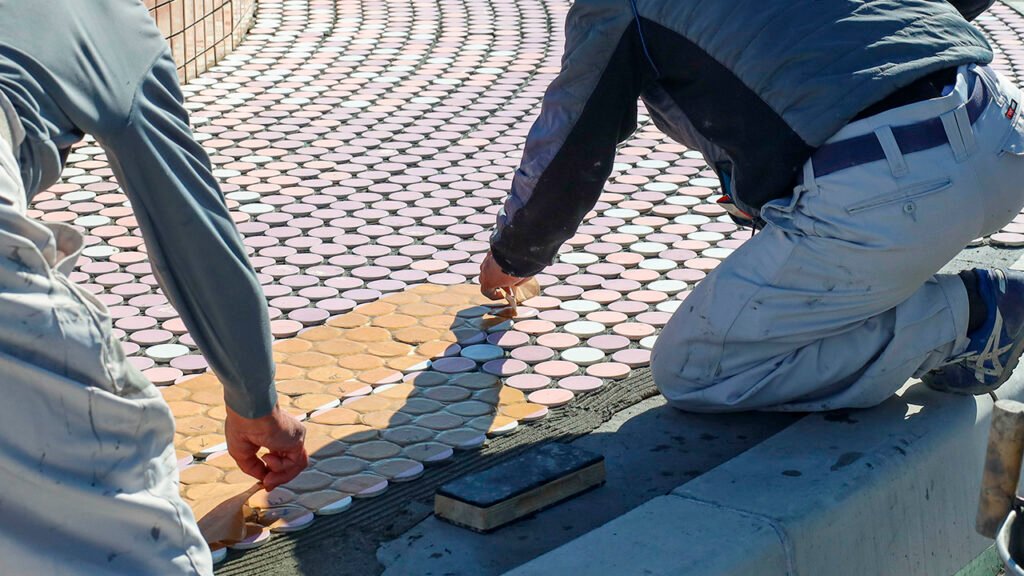
At WA-KEI, we regularly hear from customers who have questions about how to install our tiles. One topic that often raises questions is mosaic tile sheets with paper applied to the front of the tiles. While paper-faced tile sheets are widely used in Japan, this installation method may be less familiar in other parts of the world, particularly in regions where traditional tile-setting techniques are less widely known or practiced.
In this article, we will take a closer look at how this system works, explore its advantages, and walk you through the proper installation process, including the key points to keep in mind to avoid potential issues.
Table of Contents
Why Mosaic Tiles Are Sold in Sheets?
When working with small tiles, installing each piece individually would be impractical because of both the large number of tiles required to cover a surface and the difficulty of maintaining consistent spacing and alignment between them. For this reason, small-format tiles are supplied in sheets, with the individual pieces already arranged according to the specified joint spacing. This makes installation more efficient while helping achieve a more consistent, high-quality finish.
Tile sheets are generally assembled using one of two methods. While attaching a mesh to the back of the tiles is common outside Japan, the paper-faced method, with paper attached to the front surface, is widely used in Japan.
-
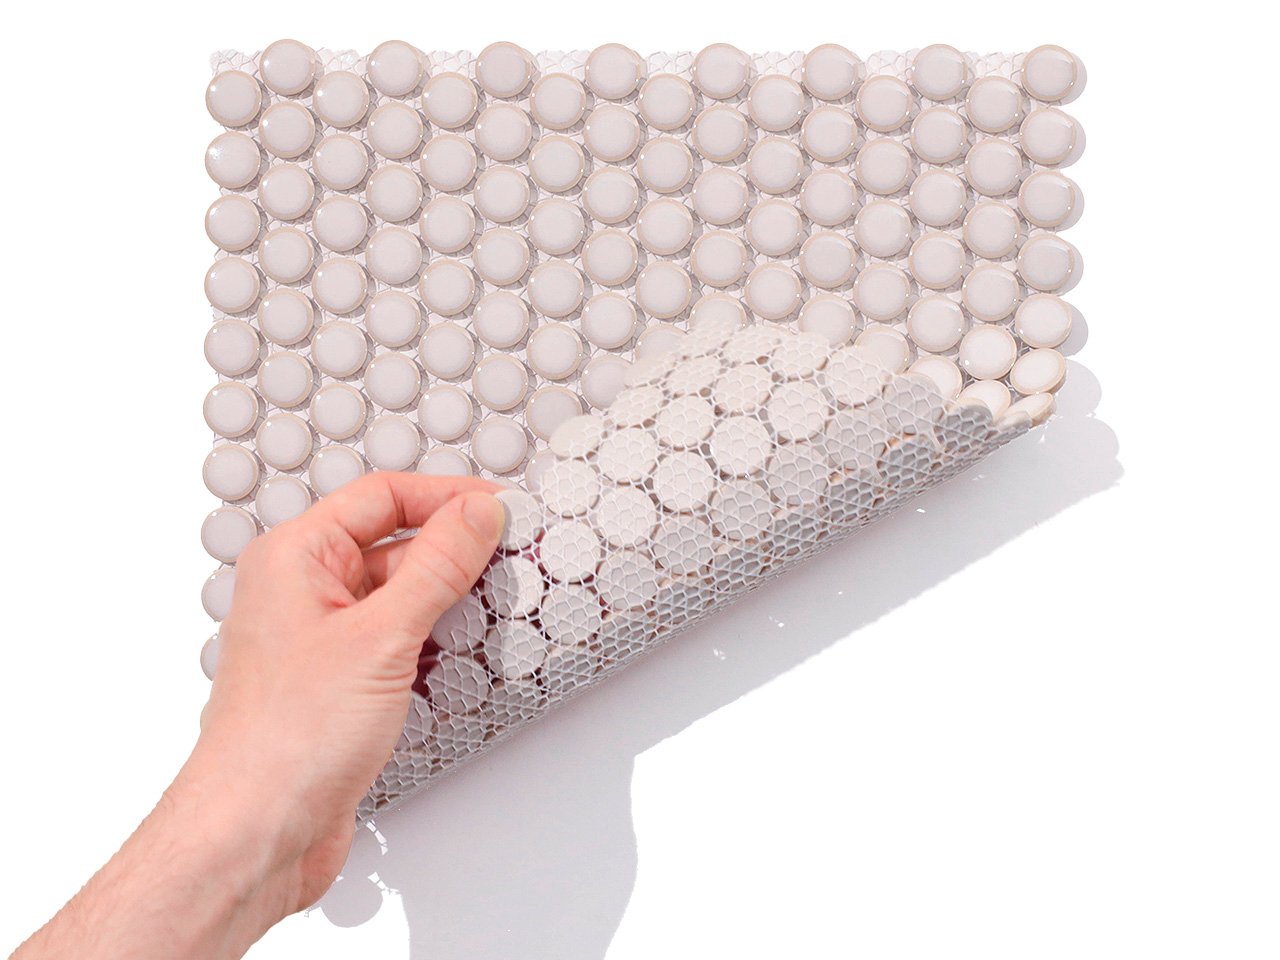
Mesh-Mounted Mosaic Tile Sheet
-
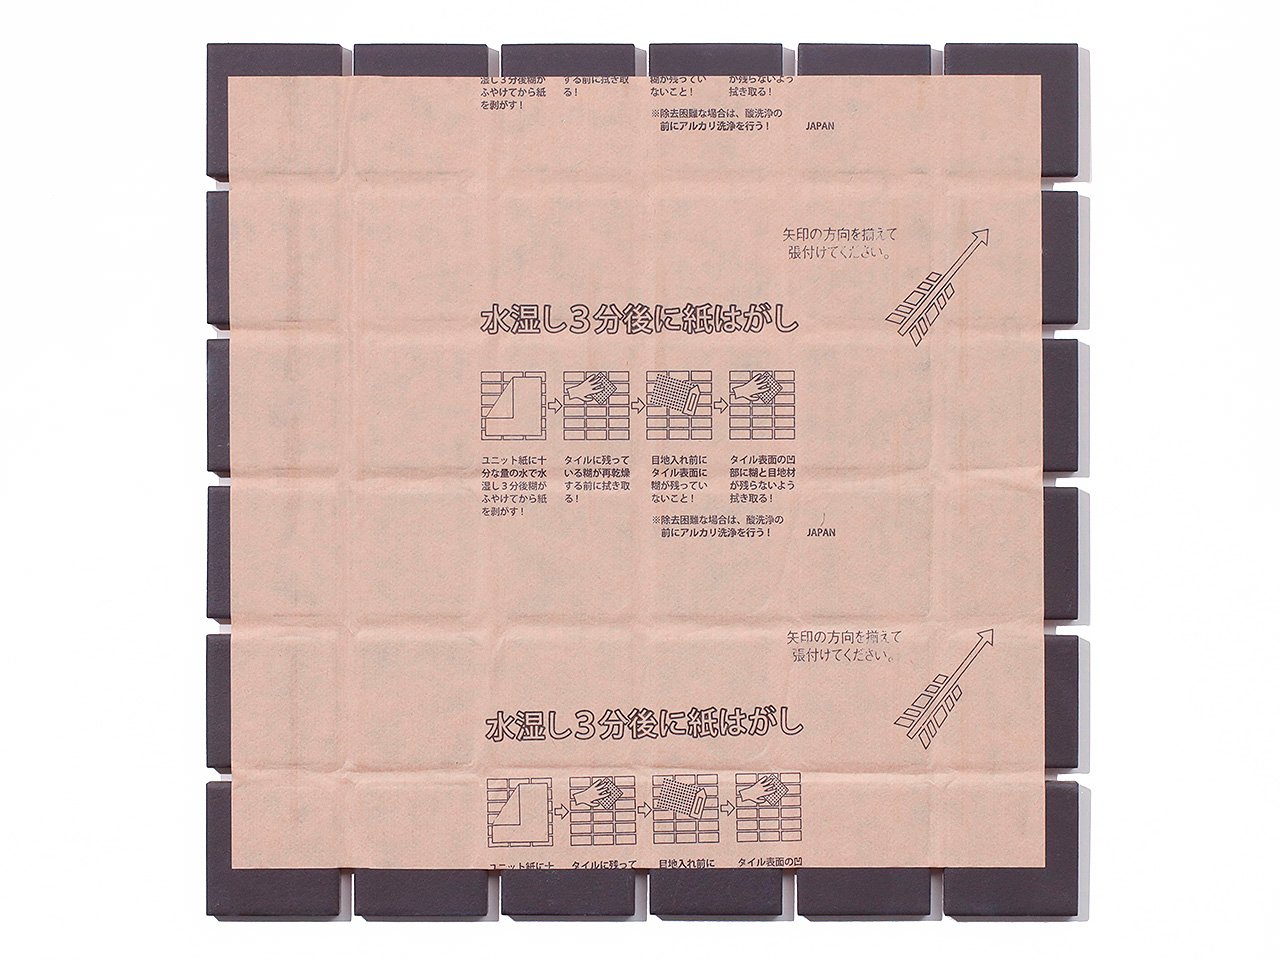
Paper-Faced Mosaic Tile Sheet
What Is the Paper-Faced Tile System?
In this system, paper temporarily covers the top surface of the tiles. It keeps the tiles from shifting during installation, making them easier to place, as well as protecting the surface from scratches. Because the paper is applied to the top of the tiles, the back remains exposed, allowing the sheet to be placed directly onto the adhesive or mortar on the surface to be covered.
Once the adhesive/mortar has partially set, the paper on the top surface is moistened with a sponge and then removed, revealing the full beauty of the tile surface.
Advantages
・Better adhesion: Without a mesh backing, the tiles bond better to the installation surface, making it especially suitable for floors and swimming pools.
・Easy adjustment: Once the paper is removed, the tiles are separate from one another, allowing for minor adjustments while the adhesive is still setting.
Disadvantages
・Limited visibility during installation: Because the tile surface is covered, the finish cannot be inspected until the paper is removed.
・Additional work time: Once the installation is complete, the paper must be removed from the tile surface, and any remaining adhesive residue must be carefully cleaned off. This requires additional time and effort.
How to Install Paper-Faced Tiles
The following four steps outline the recommended procedure for installing paper-faced tiles correctly and achieving a consistent, high-quality result.
-
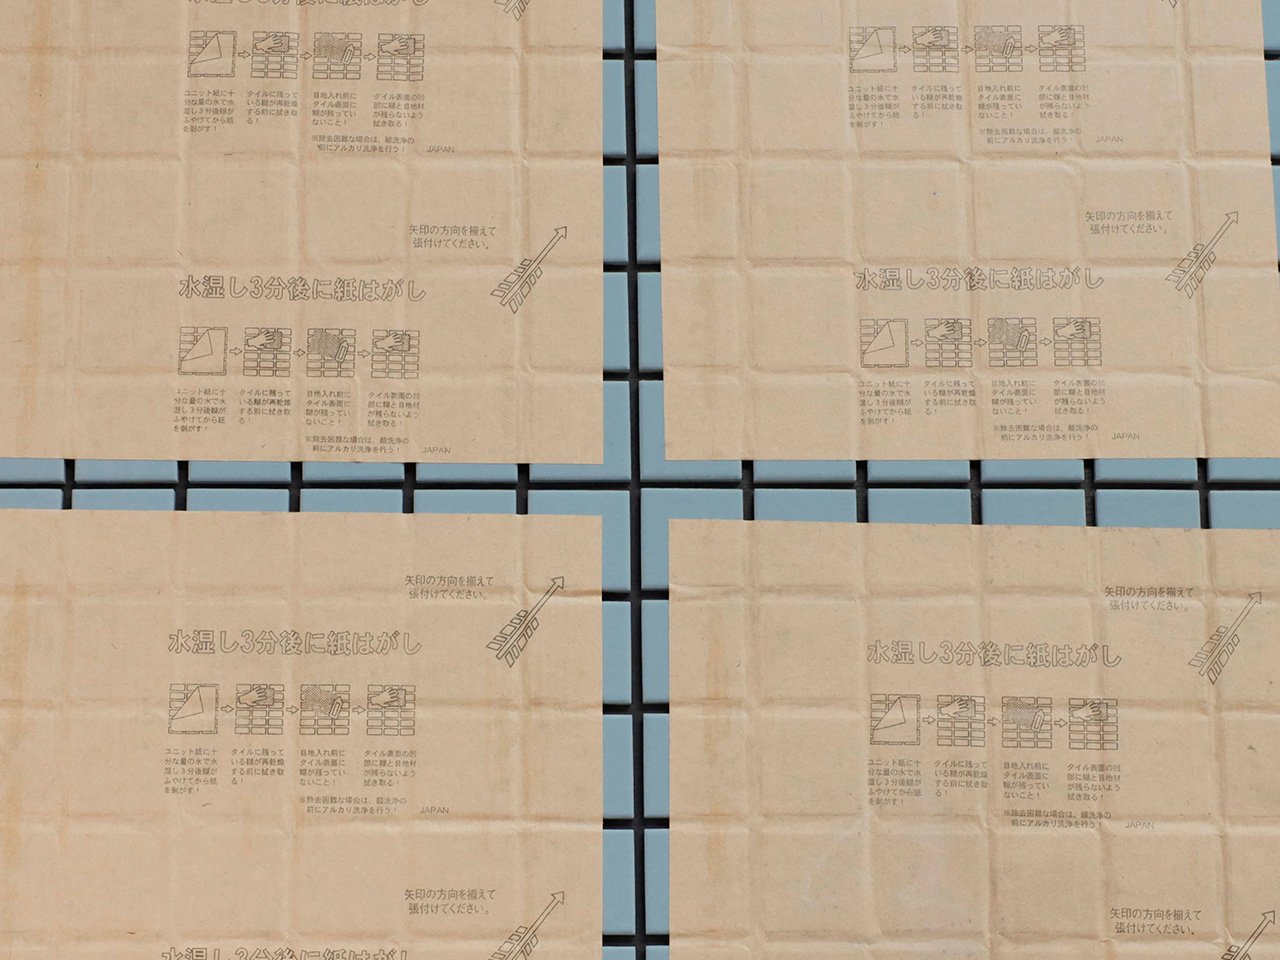
Step 1. Place the Sheets
Spread an even layer of adhesive/mortar over the surface to be tiled, following the manufacturer’s instructions.
Each sheet has an arrow marked on the paper. Place the sheets side by side across the surface to be covered, making sure that all the arrows are oriented in the same direction.
-
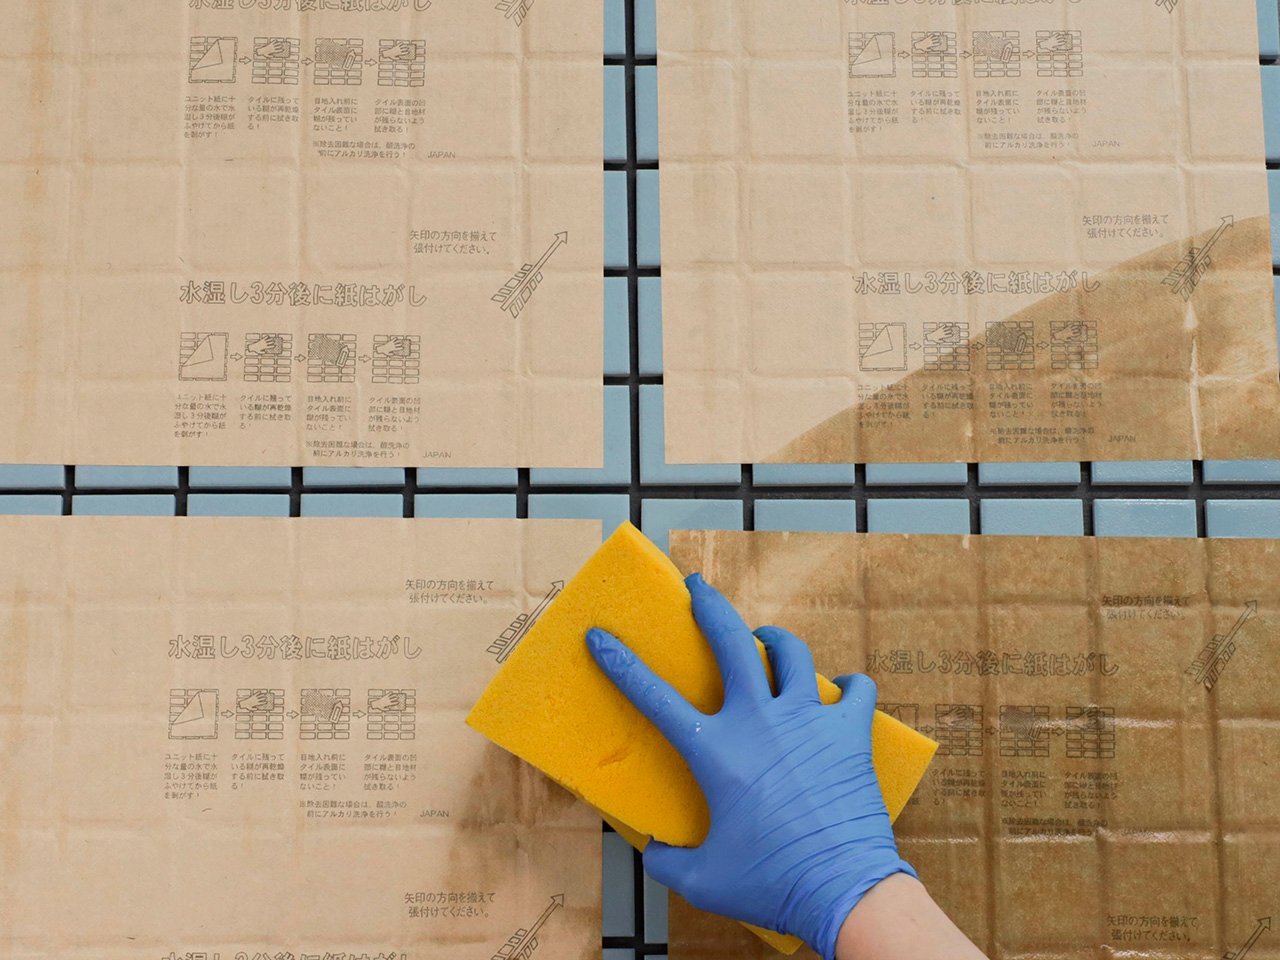
Step 2. Prepare the Paper for Removal
In this step, the paper is wetted to soften and dissolve the adhesive, allowing it to be removed more easily. However, it is important to wet the paper at the right time. To check when to begin, lightly touch the adhesive/mortar with your finger. If it leaves a slight mark, you can proceed.
Evenly wet the entire surface of the paper with a sponge, without applying too much pressure. As the paper absorbs the water, it will become darker.
Wait about 3 minutes, until the paper is thoroughly soaked and softened.
Note: We recommend using alkaline electrolyzed water, which helps dissolve the starch-based adhesive on the tiles and makes the paper easier to remove.
-
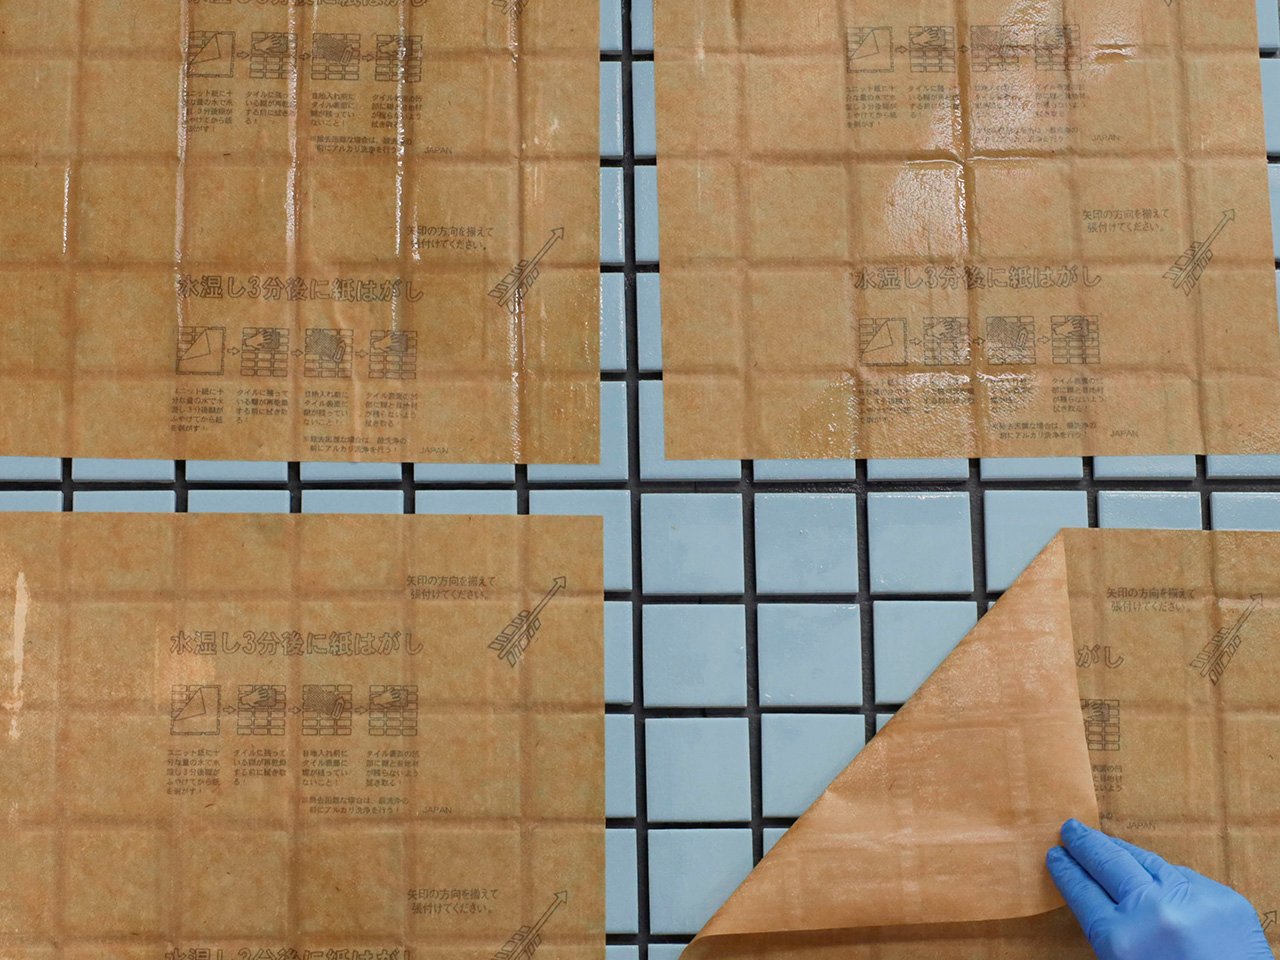
Step 3. Remove the Paper
Slowly and carefully peel away the paper diagonally to prevent the tiles from shifting.
Note: If the paper starts to dry out or does not come off easily, do not force it. Wet the paper again and try removing it once it has softened sufficiently.
-
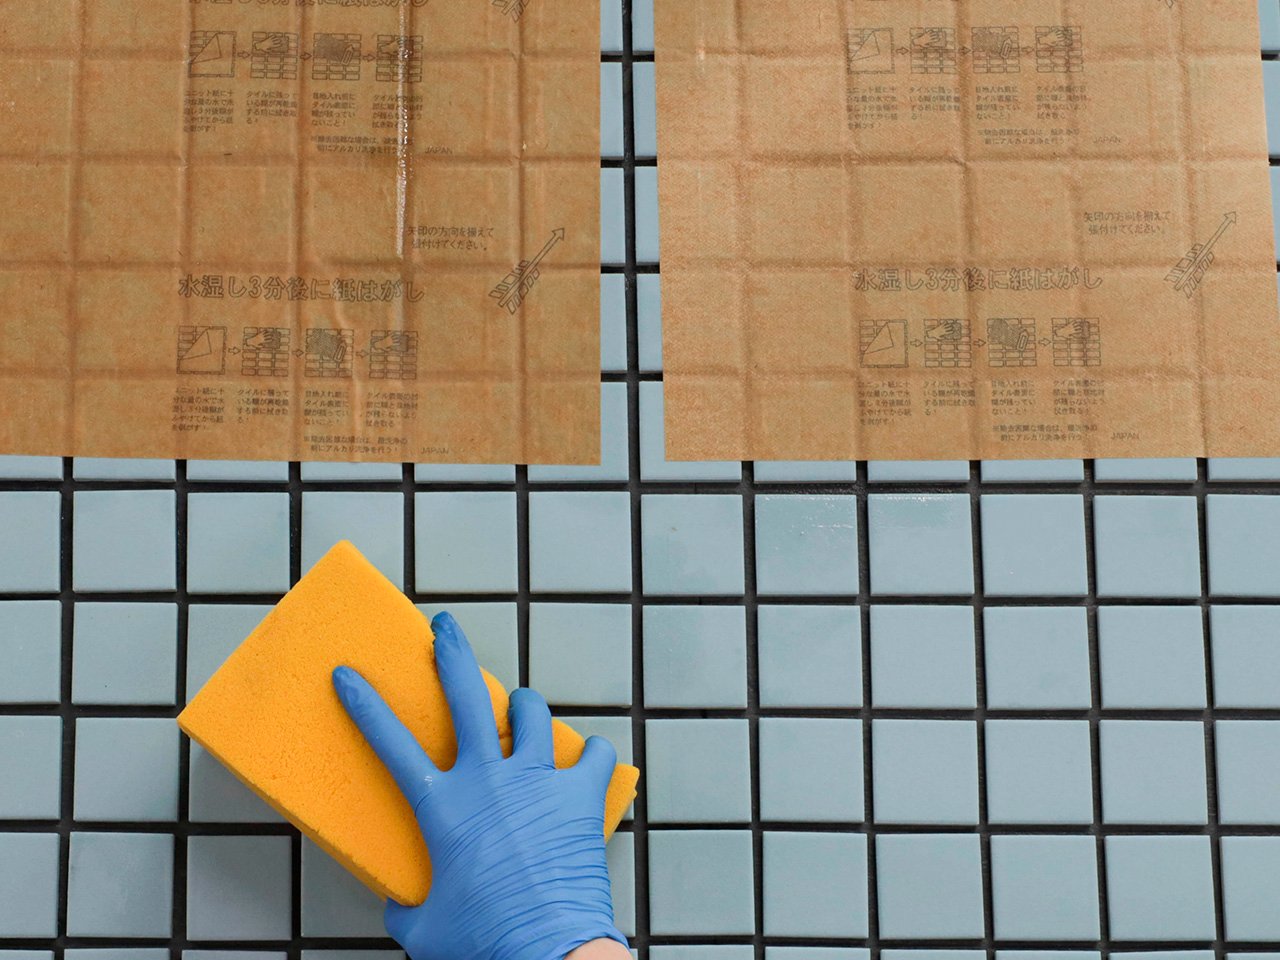
Step 4. Cleaning off the adhesive
Because any remaining adhesive can promote mold growth, carefully check the tile surface after removing the paper and completely remove any adhesive residue before proceeding with grouting.
To clean the surface use a sponge dampened with water, rinsing it regularly with clean water.
Note: If any adhesive residue is difficult to remove, try using an alkaline cleaning product.
Once all adhesive residue has been completely removed from the tile surface, you are ready to proceed in the same way as with any other tile installation method: grout the joints with the appropriate grouting material, then clean the tile surface with a damp sponge until all excess grout has been removed.
Summary
We hope this guide provides a clear understanding of the paper-faced tile system and helps ensure a successful installation.
As outlined above, following the recommended installation steps and removing the paper at the appropriate time are essential to achieving a clean, uniform, high-quality finish. If you have any questions regarding the installation of our tiles, our team is available to assist you.
Note: This article has been reviewed using ChatGPT.
