Single-Line Grouting: An Introduction to the Technique
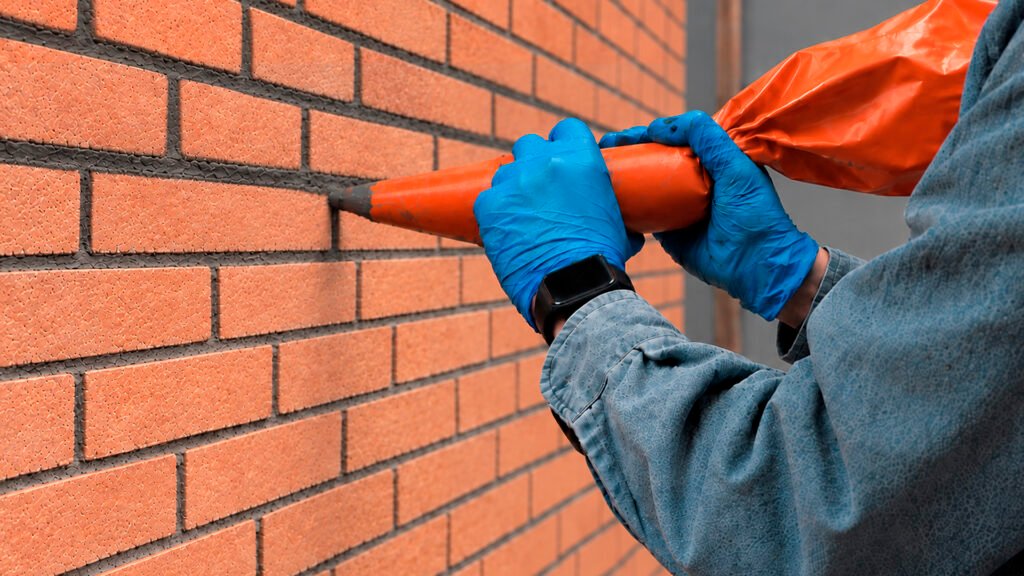
Among our collections, tiles with rough surfaces or pronounced three-dimensional relief are particularly popular with our customers. However, their unique surface characteristics can also lead to questions about the best way to install them. In this article, we will introduce Single-Line Grouting, the method we recommend for these types of tiles. We’ll explain the key features of this technique, when it is particularly suitable, and how to apply it correctly, step by step.
Table of Contents
A Precise Grouting Technique
Joints are important for both the appearance and durability of a tiled surface. They help accommodate differences in tile dimensions and small variations that may occur during installation, while also allowing the surface to withstand the natural expansion and contraction of a building over time. Tiles installed without joints, directly against one another, will develop cracks and eventually break. Joints also help prevent water, dust, and other outside elements from entering.
There are two main methods for filling tile joints. The choice depends on the surface condition and the type of material being used.
-
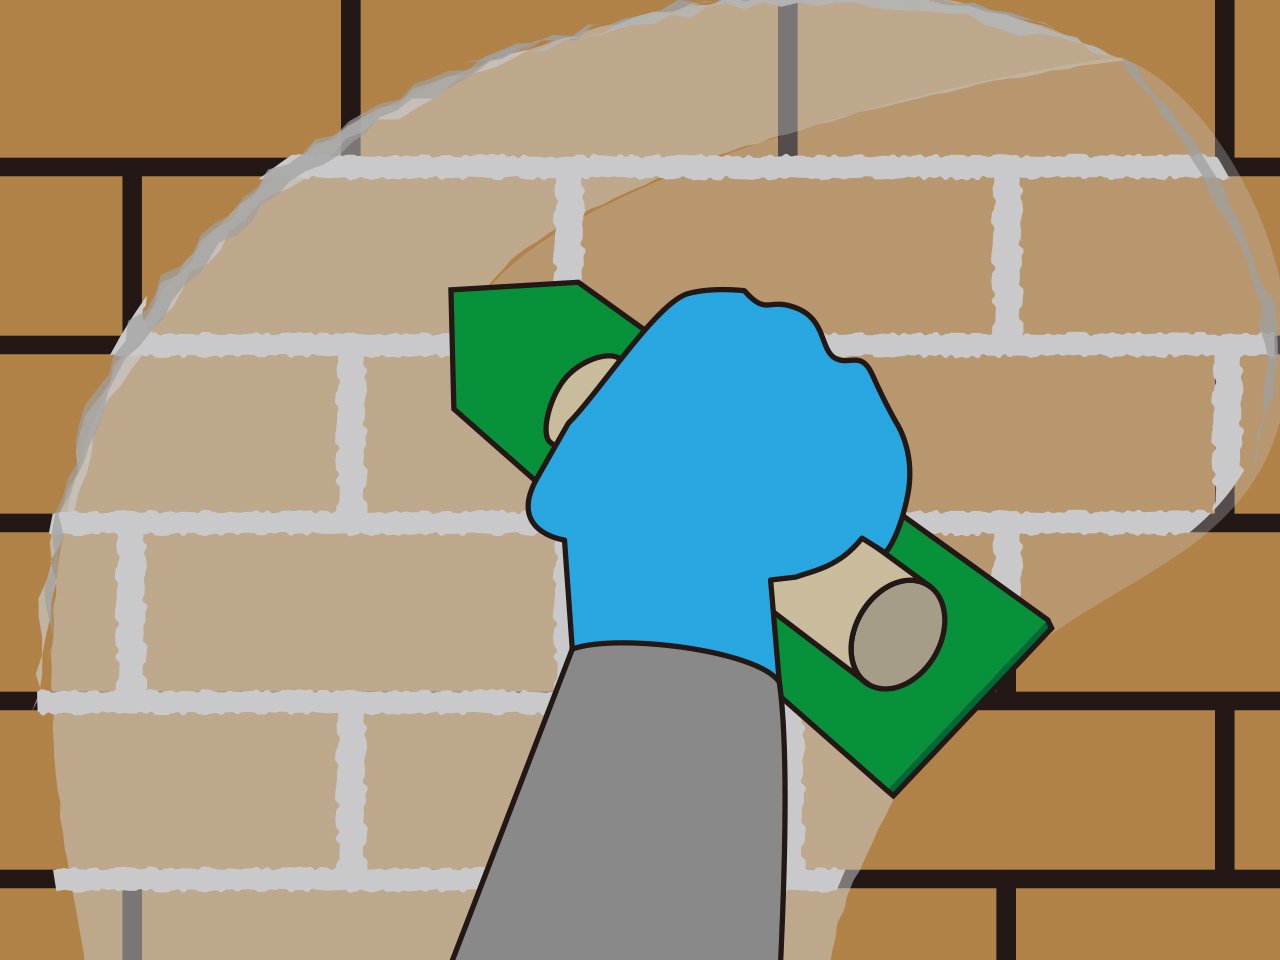
Full-Surface Grouting Method
-
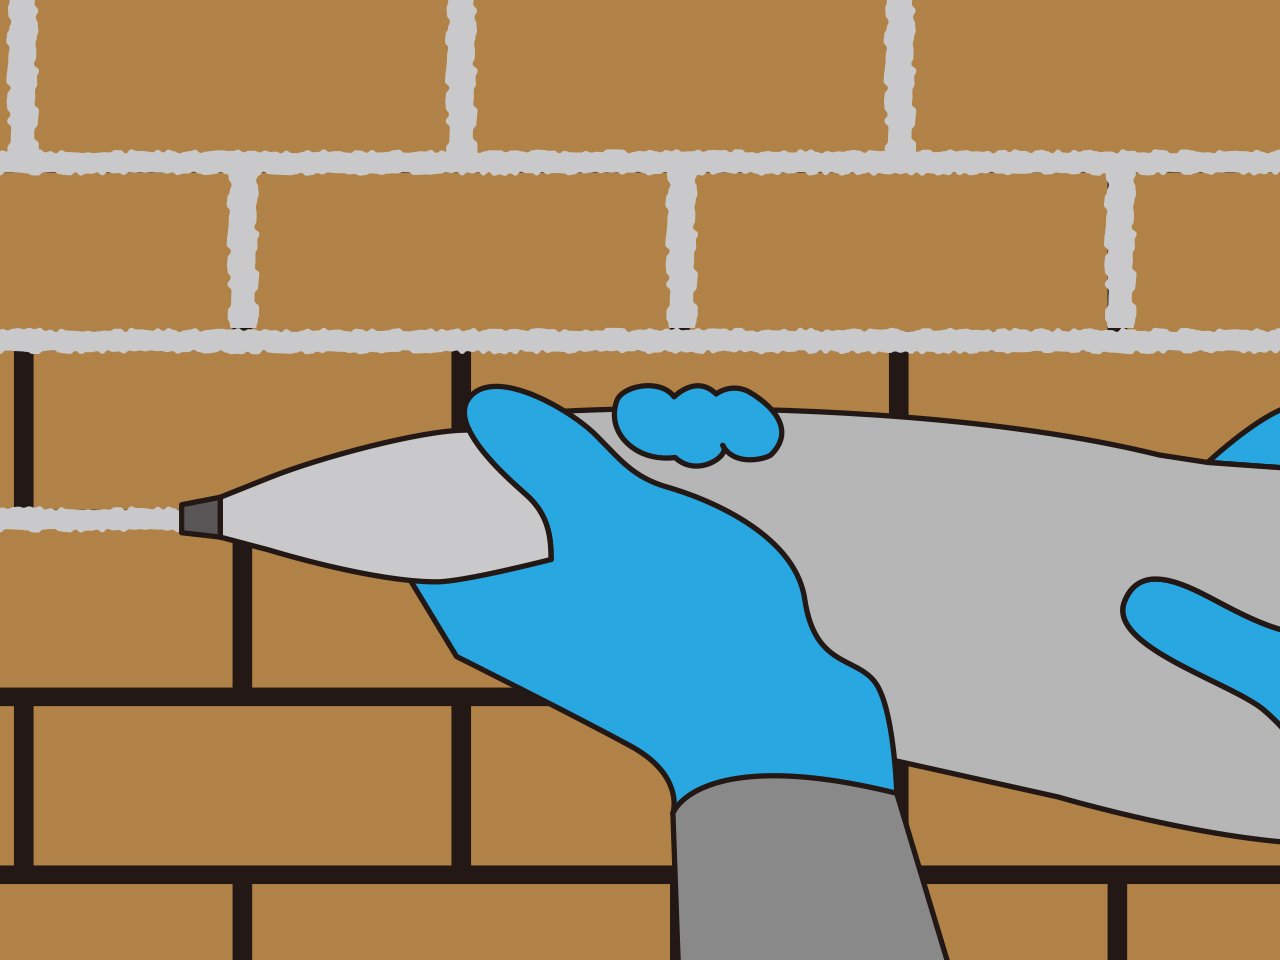
Single-Line Grouting Method
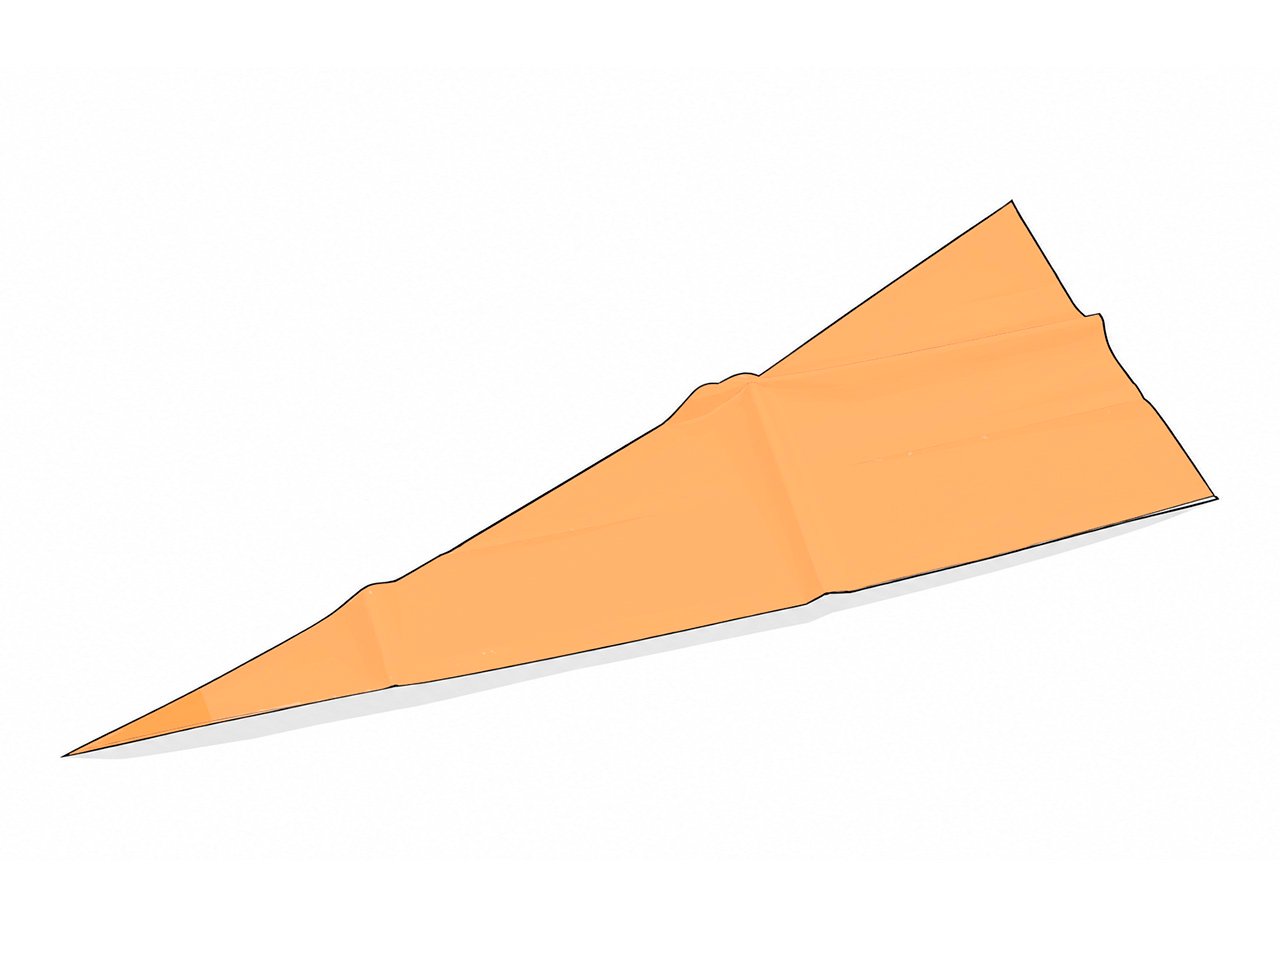
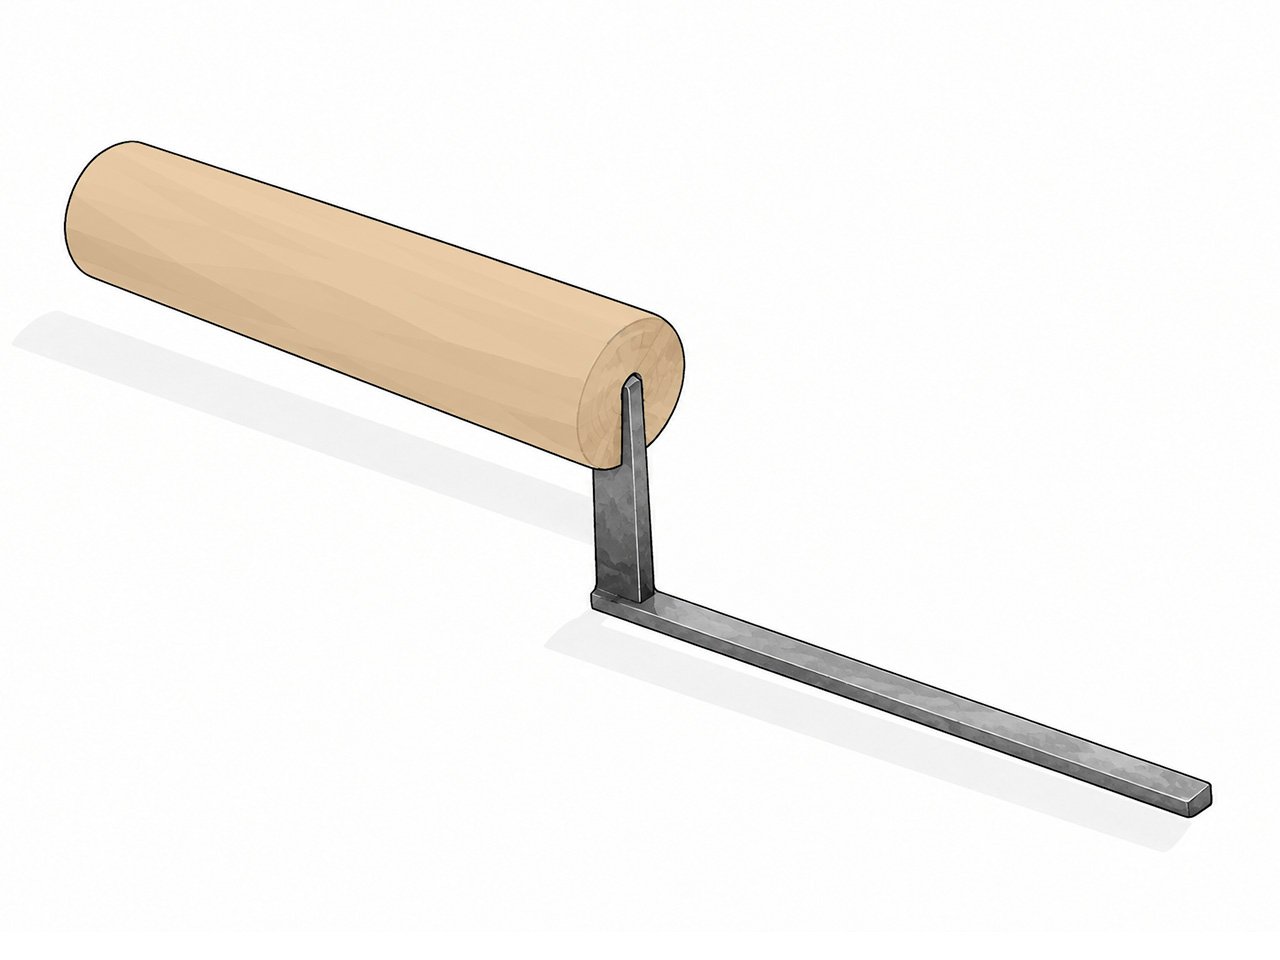
In this article, we will focus on the Single-Line Grouting Method. In this technique, grout is applied one joint at a time using a grout bag, similar to a pastry bag. The grout is carefully applied along each joint, and the surface is then shaped and finished with a pointing trowel.
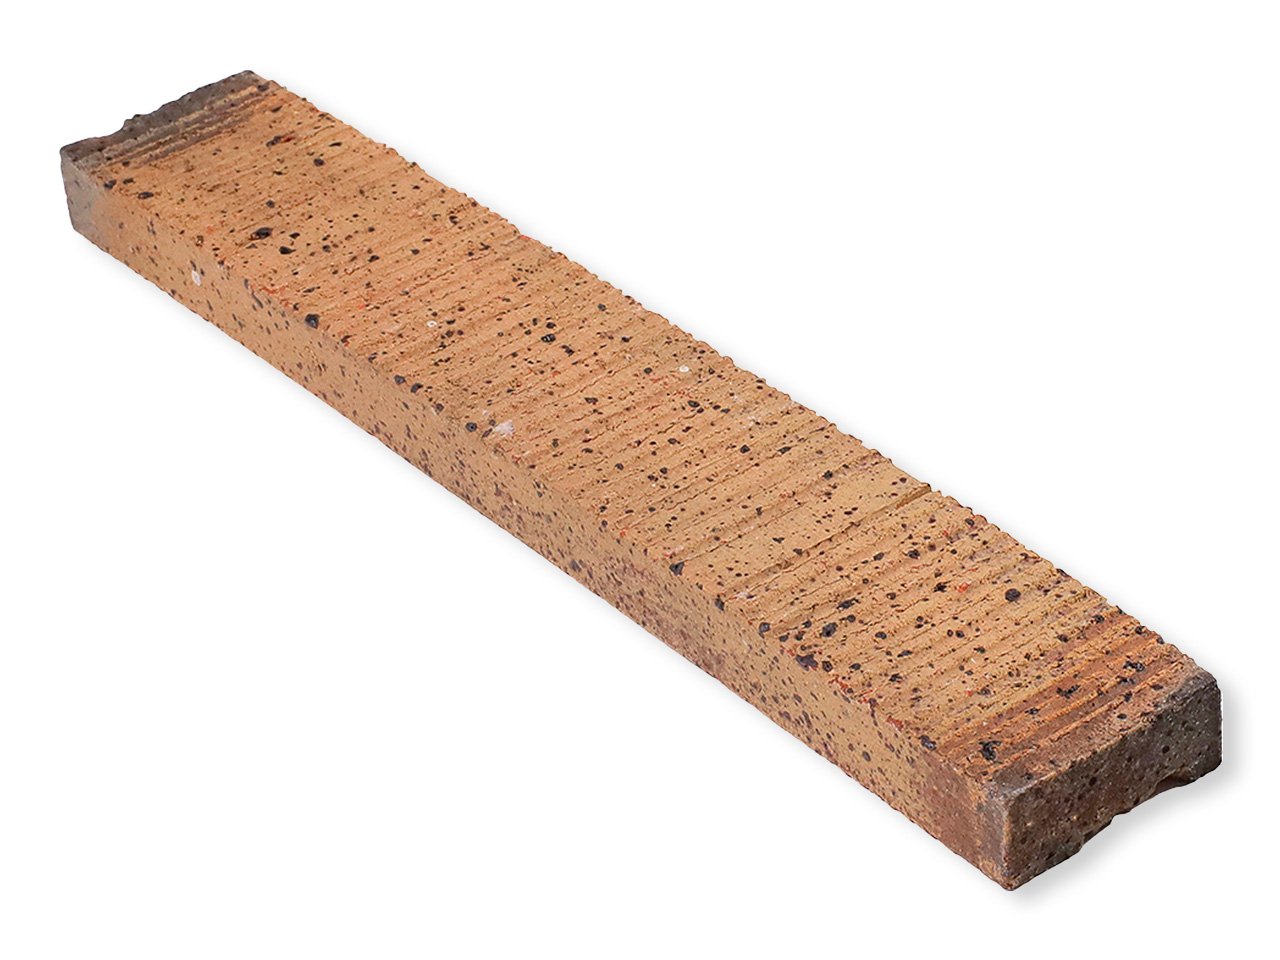
This method is particularly useful for unglazed tiles with rough textures or pronounced three-dimensional relief, where excess grout can be more difficult to remove from the tile surface. It also allows for deeper, more clearly defined grout joints.
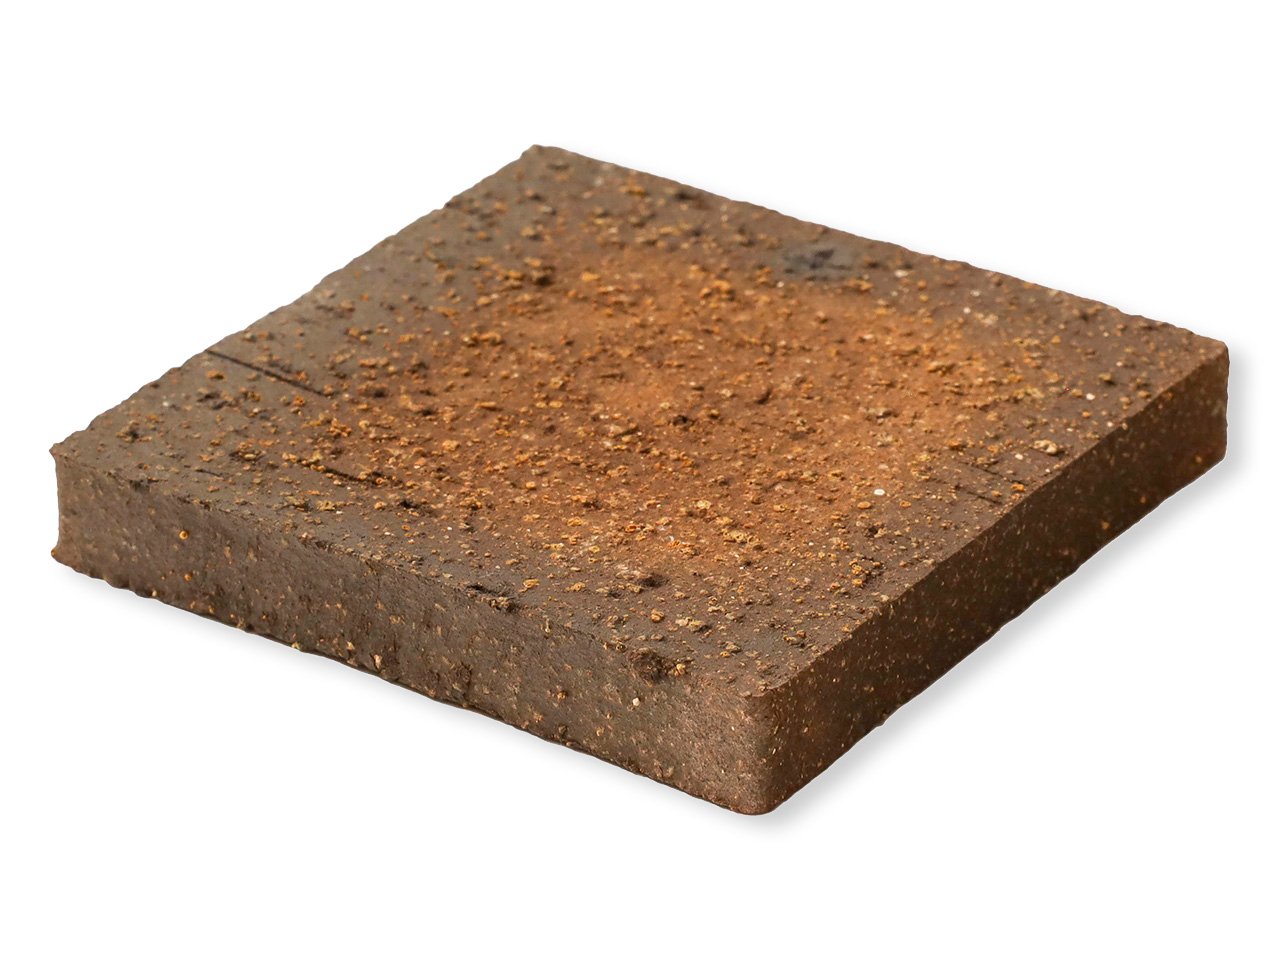
Below, we introduce two WA-KEI collections that highlight the expressive character of textured surfaces and work particularly well with this technique.
Tools and Materials Needed
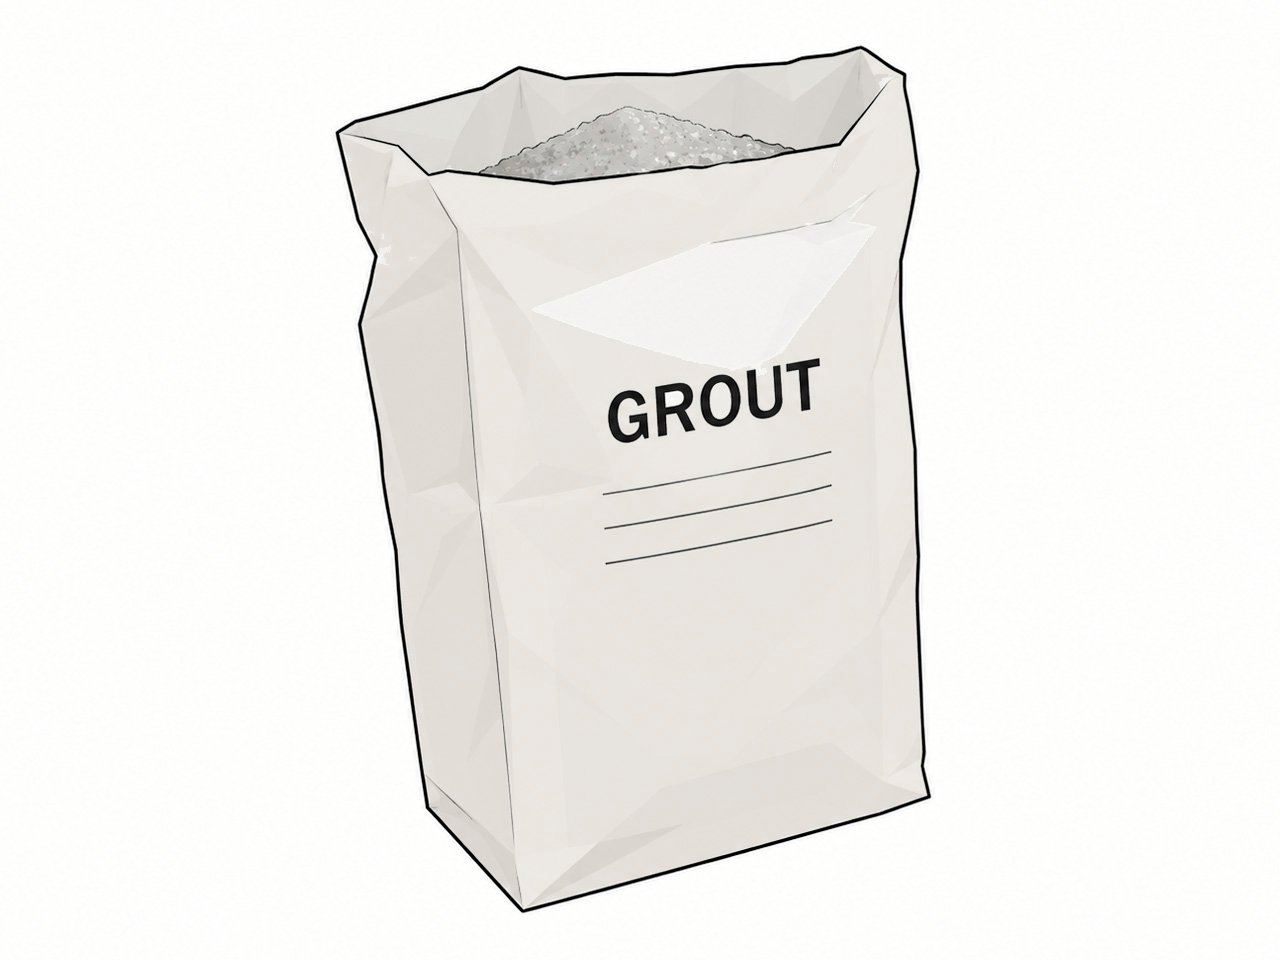
To apply the Single-Line Grouting Method, several tools and materials are required. Below are the main items needed to carry out the process correctly.
|
Grout |
|
Grout Bag |
|
Pointing Trowel |
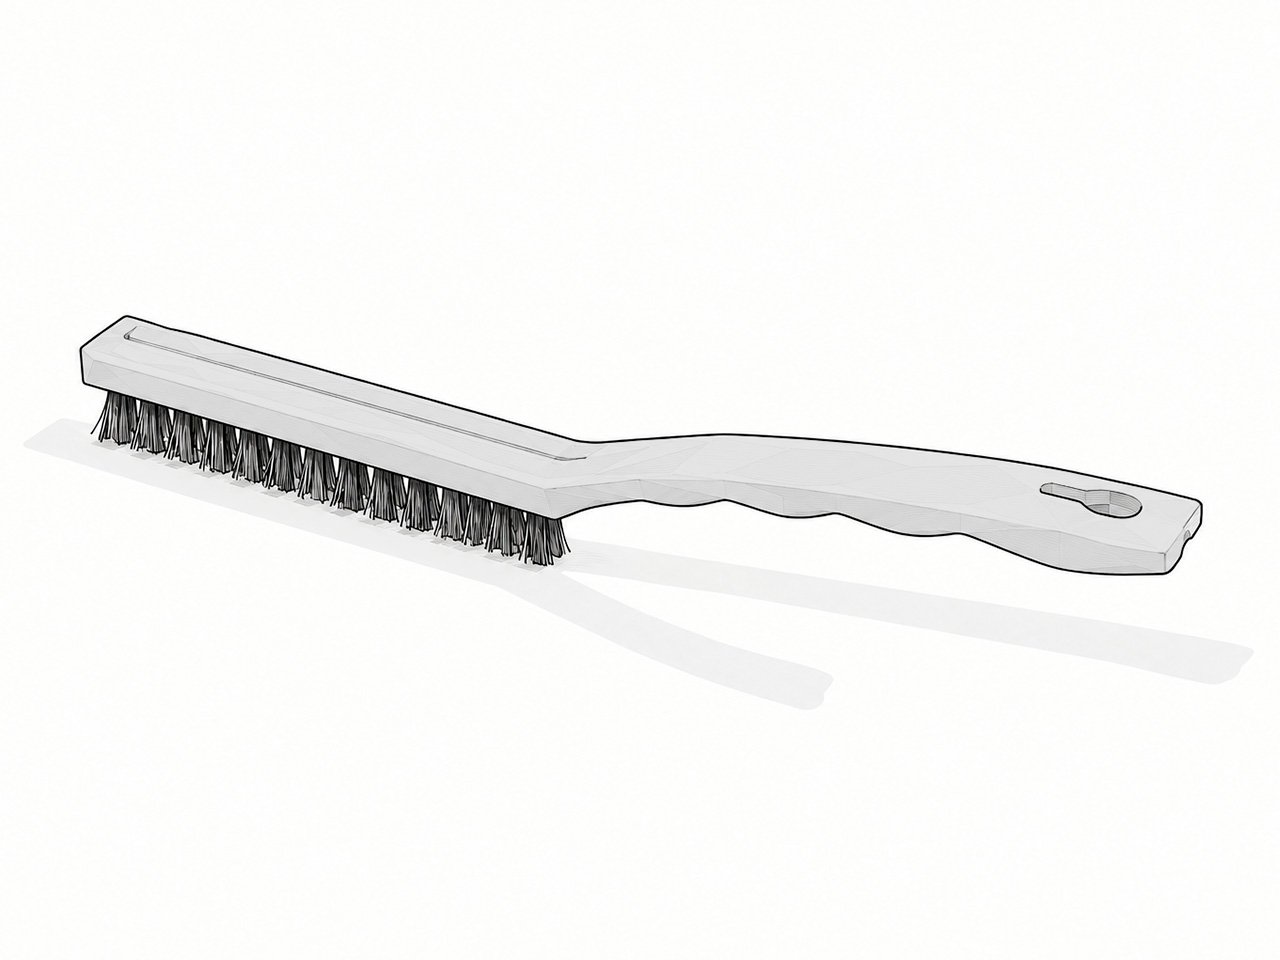
|
Brush |
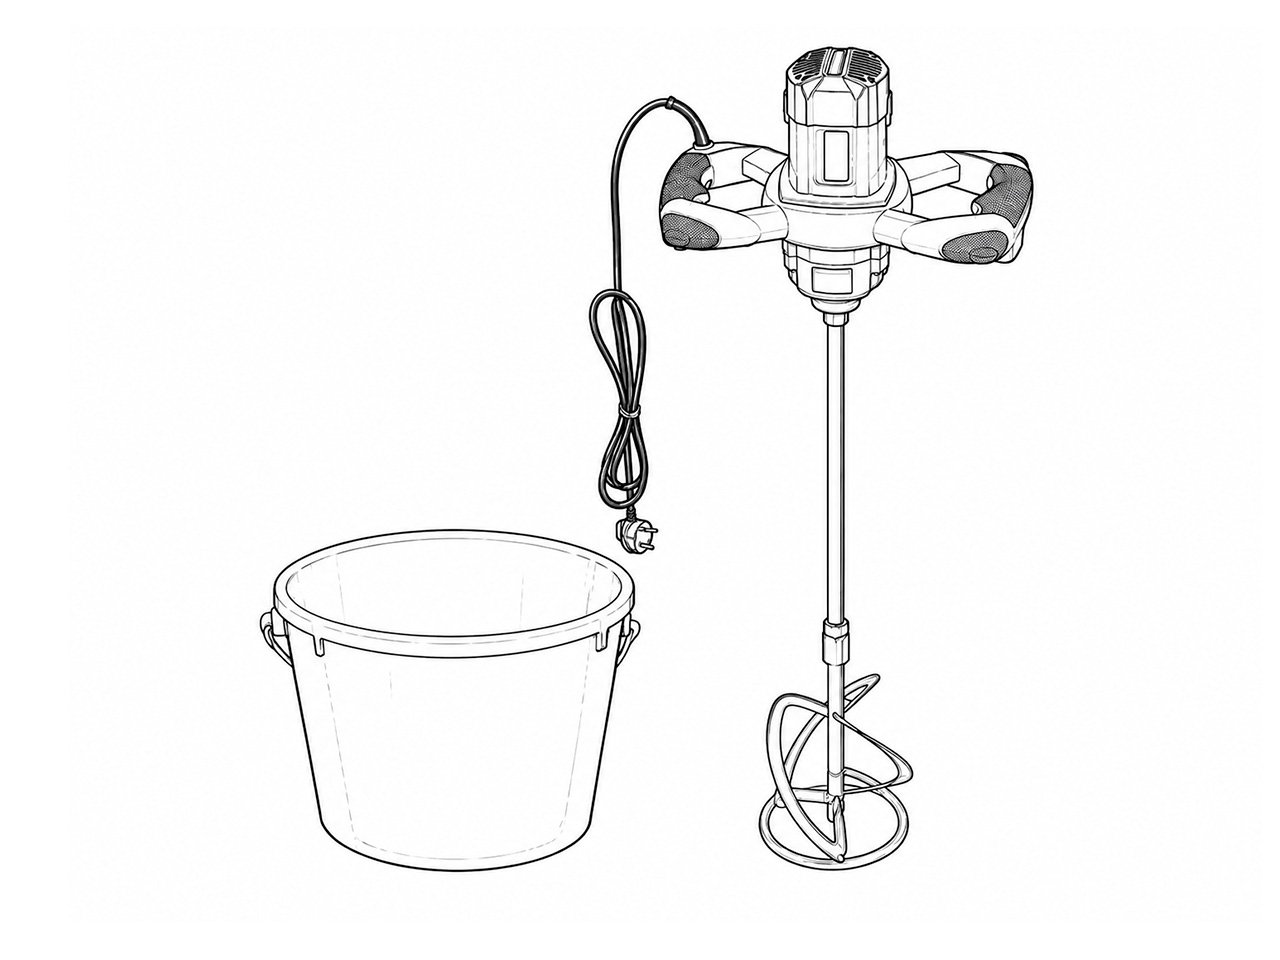
|
Mixing Container and Tool |
Step-by-Step Process
The Single-Line Grouting Method involves applying grout directly into each joint and finishing the surface before the grout is allowed to harden. The process consists of several steps, from preparing the grout to the final cleaning of the tiles. Below, we explain each step in detail.
-
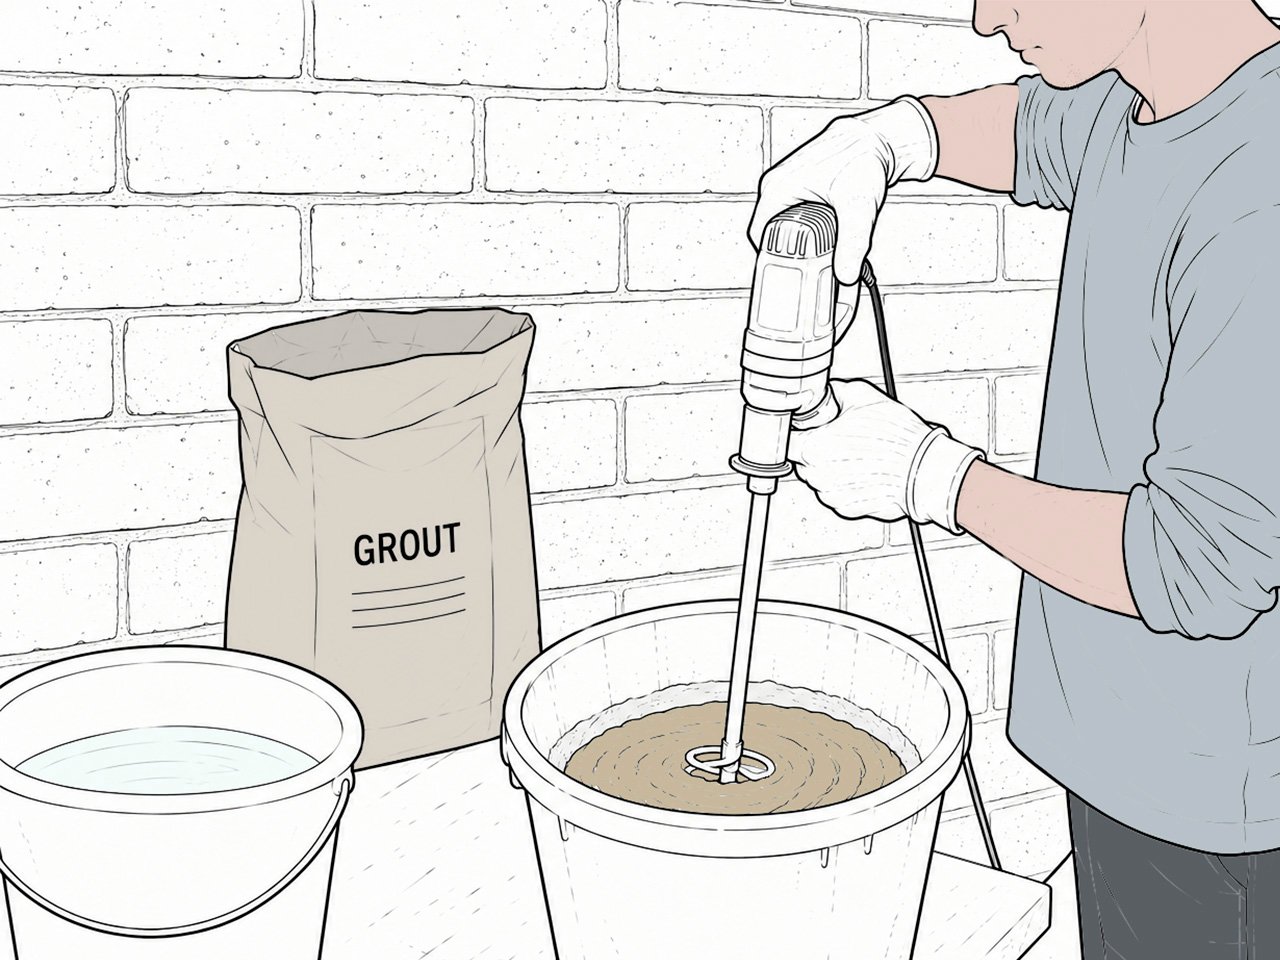
Step 1. Prepare the Grout
First, mix the grout thoroughly with water according to the manufacturer’s recommended ratio and instructions. The mixture should be smooth and workable, firm enough to hold its shape while still flexible enough to pass easily through the grout bag.
Note: Consistency is important. Grout that is too dry can be difficult to apply, while grout that is too wet may not stay properly within the joint.
-
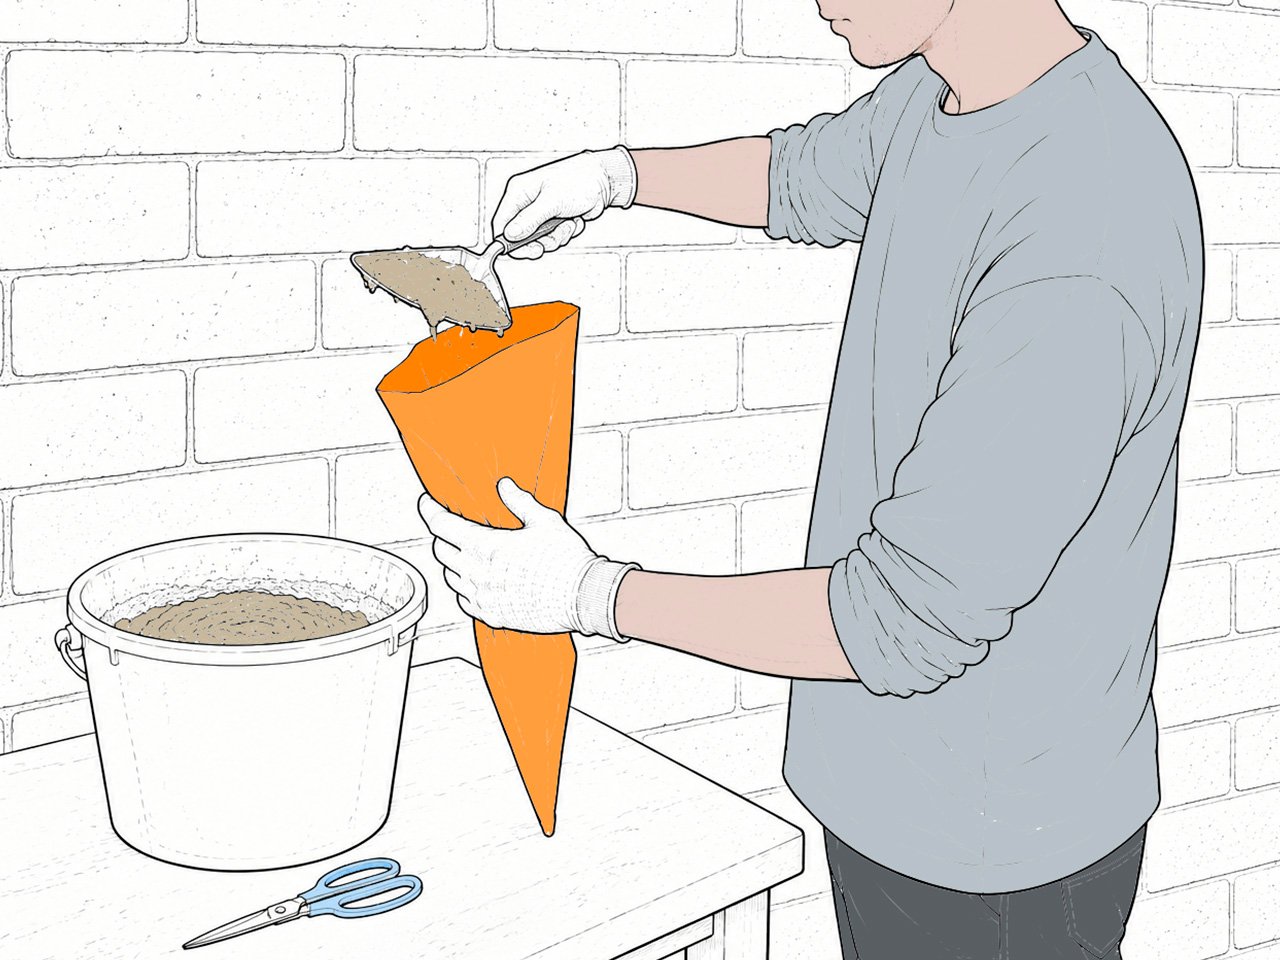
Step 2. Fill the Grout Bag and Cut the Tip
Place the prepared grout into the grout bag, filling it carefully and avoiding trapped air as much as possible. The top of the bag can be rolled or folded to help the grout move steadily toward the tip during application.
Cut the tip of the grout bag so that the opening matches the joint width.
-
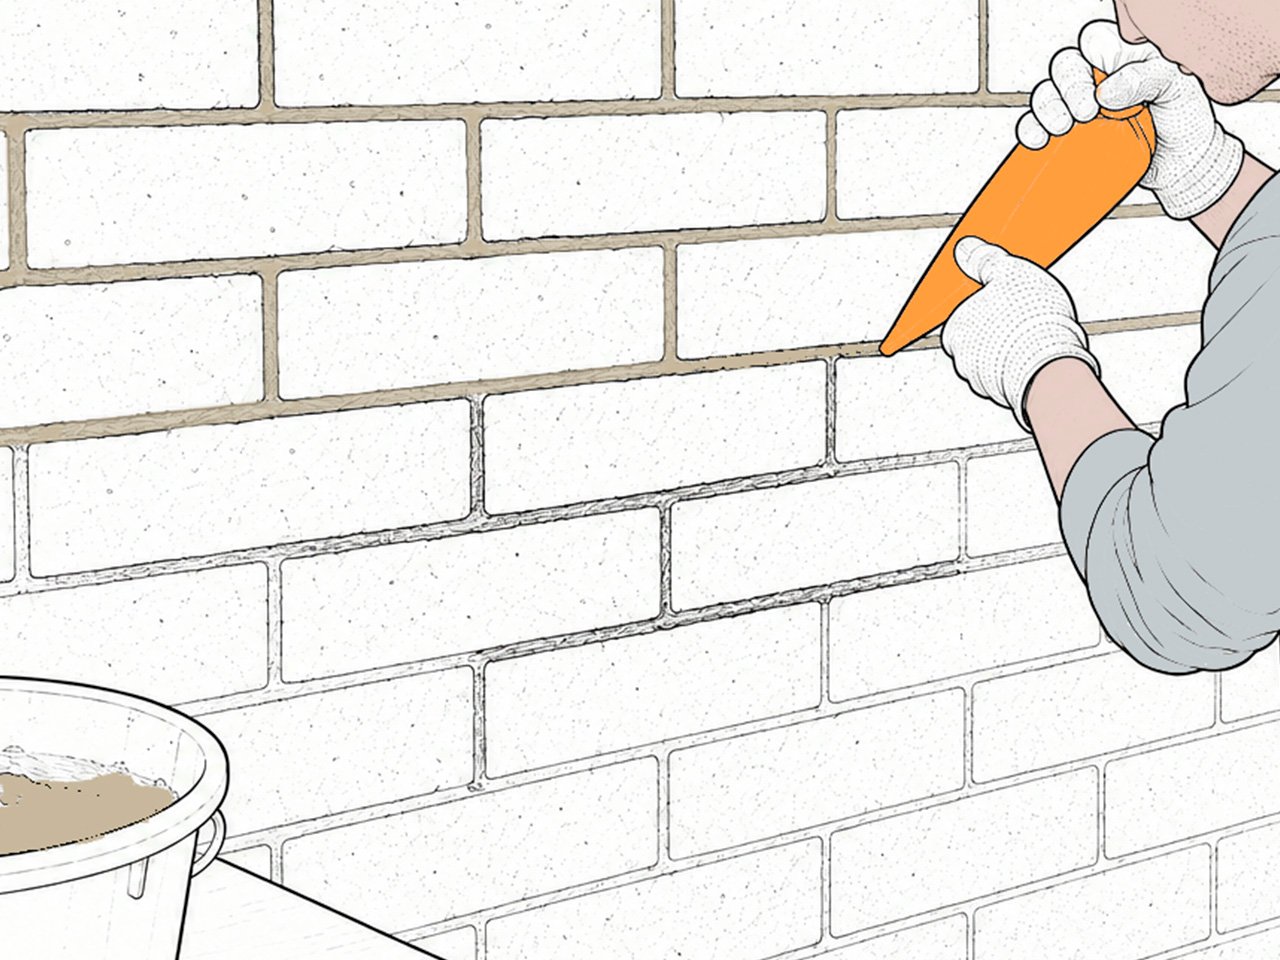
Step 3. Apply the Grout
Place the tip of the bag over the joint and squeeze it slowly and steadily, applying the grout along each joint until it is completely filled. Maintain a consistent pressure and speed to ensure an even application, and make sure the grout reaches the bottom of the joint without leaving any gaps.
When working on surfaces with many joints, it is common to start with the longer, continuous joints and then fill the shorter ones.
-
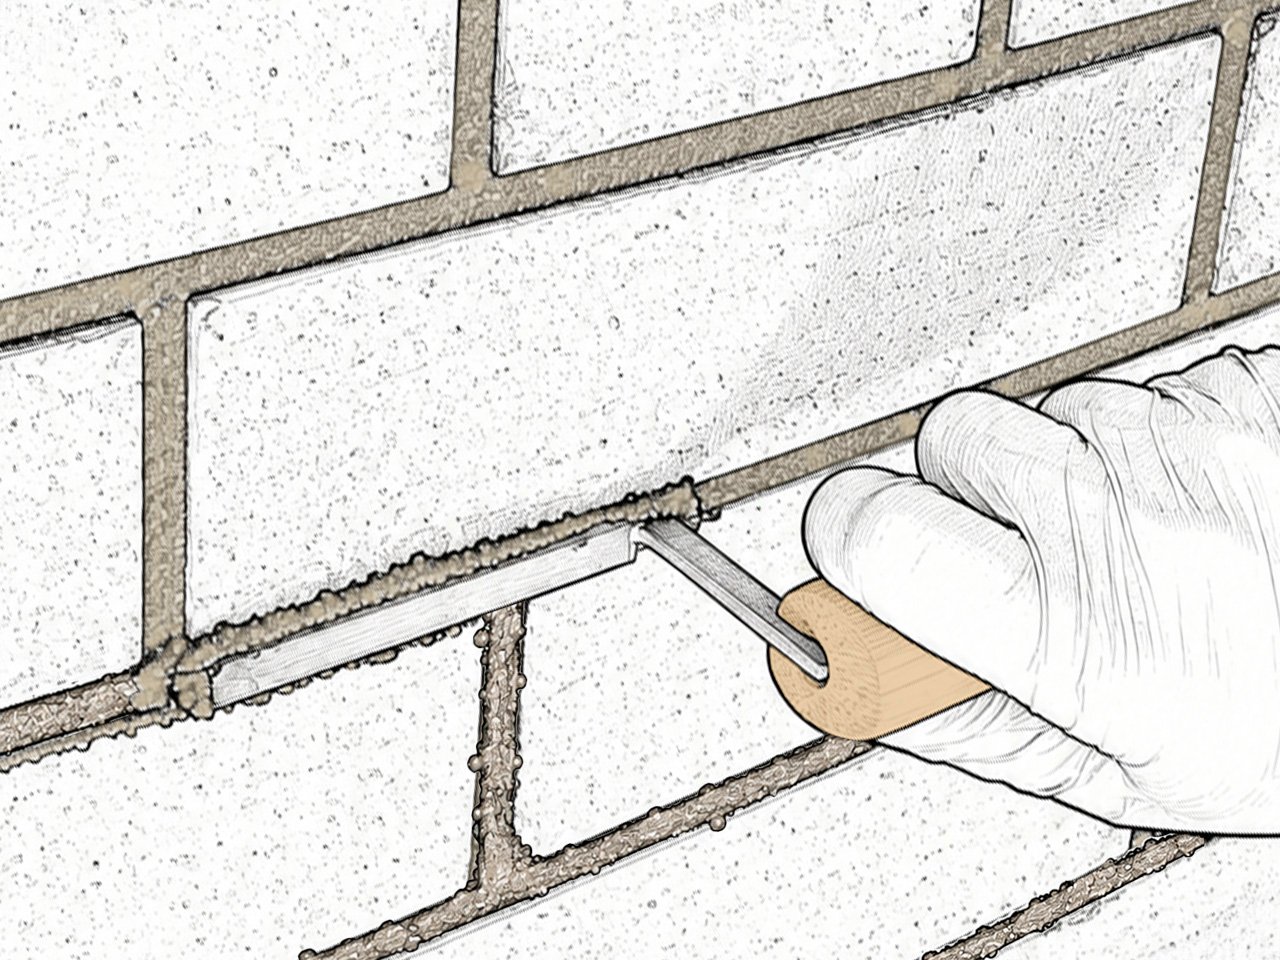
Step 4. Finish the Joints
Once the joints have been filled, use a pointing trowel to shape them to the desired form and depth, depending on the finish you want to achieve. Carefully remove any excess grout that remains on the tile surface.
-
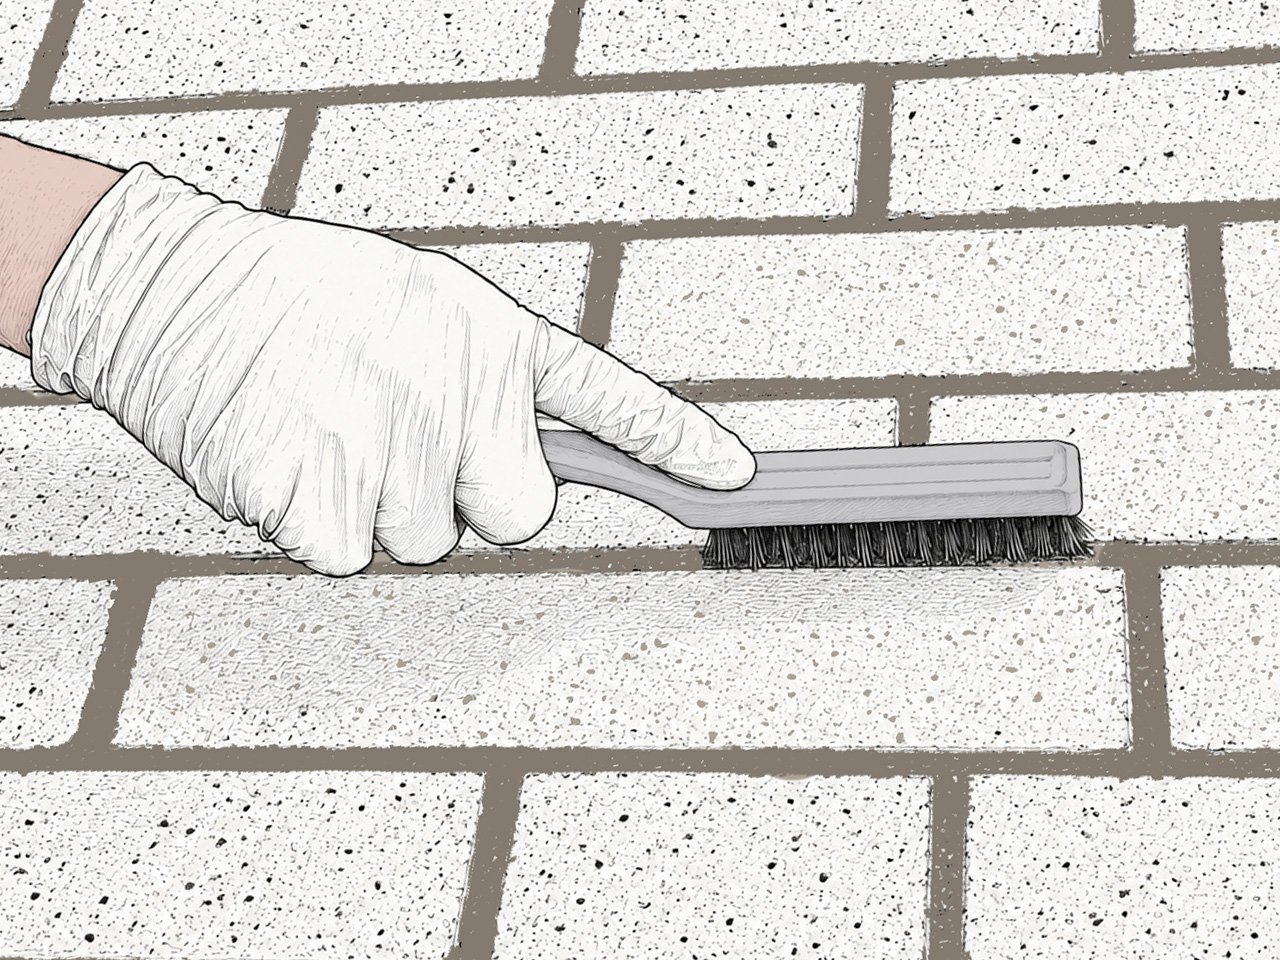
Step 5. Final Cleaning
After approximately half a day, once the grout has partially hardened, use a stiff brush to remove any excess grout remaining around the joints.
If any grout remains on the tile surface, carefully remove it using non-abrasive tools or materials to avoid damaging or scratching the surface.
-
Each step of the process plays an important role in achieving the desired result. From preparation to final cleaning, careful work is essential throughout the entire process.
Summary
The Single-Line Grouting Method is particularly suitable for applying grout to unglazed tiles with rough textures or pronounced three-dimensional relief, where excess grout can be more difficult to remove. By following the steps described in this article and using the appropriate tools, you can achieve clean, well-defined grout joints.
If you have any questions about the process, please feel free to contact us. Our team will be happy to assist you.

Note: This article has been reviewed using ChatGPT.